I know I mentioned here that my Grandpa died early in September. The day after his and my Grandmas 65th Wedding Anniversary, to be exact.
I was looking for ways to memorialize him when I came across this idea on Pinterest. To turn his old shirts into pillows. When Grandma finally decided to start cleaning out the closest, she came across a bunch of his old work shirts. He was an over the road trucker for MANY MANY years and never got rid of his work shirts, even tho he has been retired for over 20 years at this point. I scooped these up and got to work!
Instead of buying stuffing and doing pillows that way, I found pillow forms at Walmart. They had 2 sizes and I chose the 12″ x 16″ over the 16″ x 16″ size.
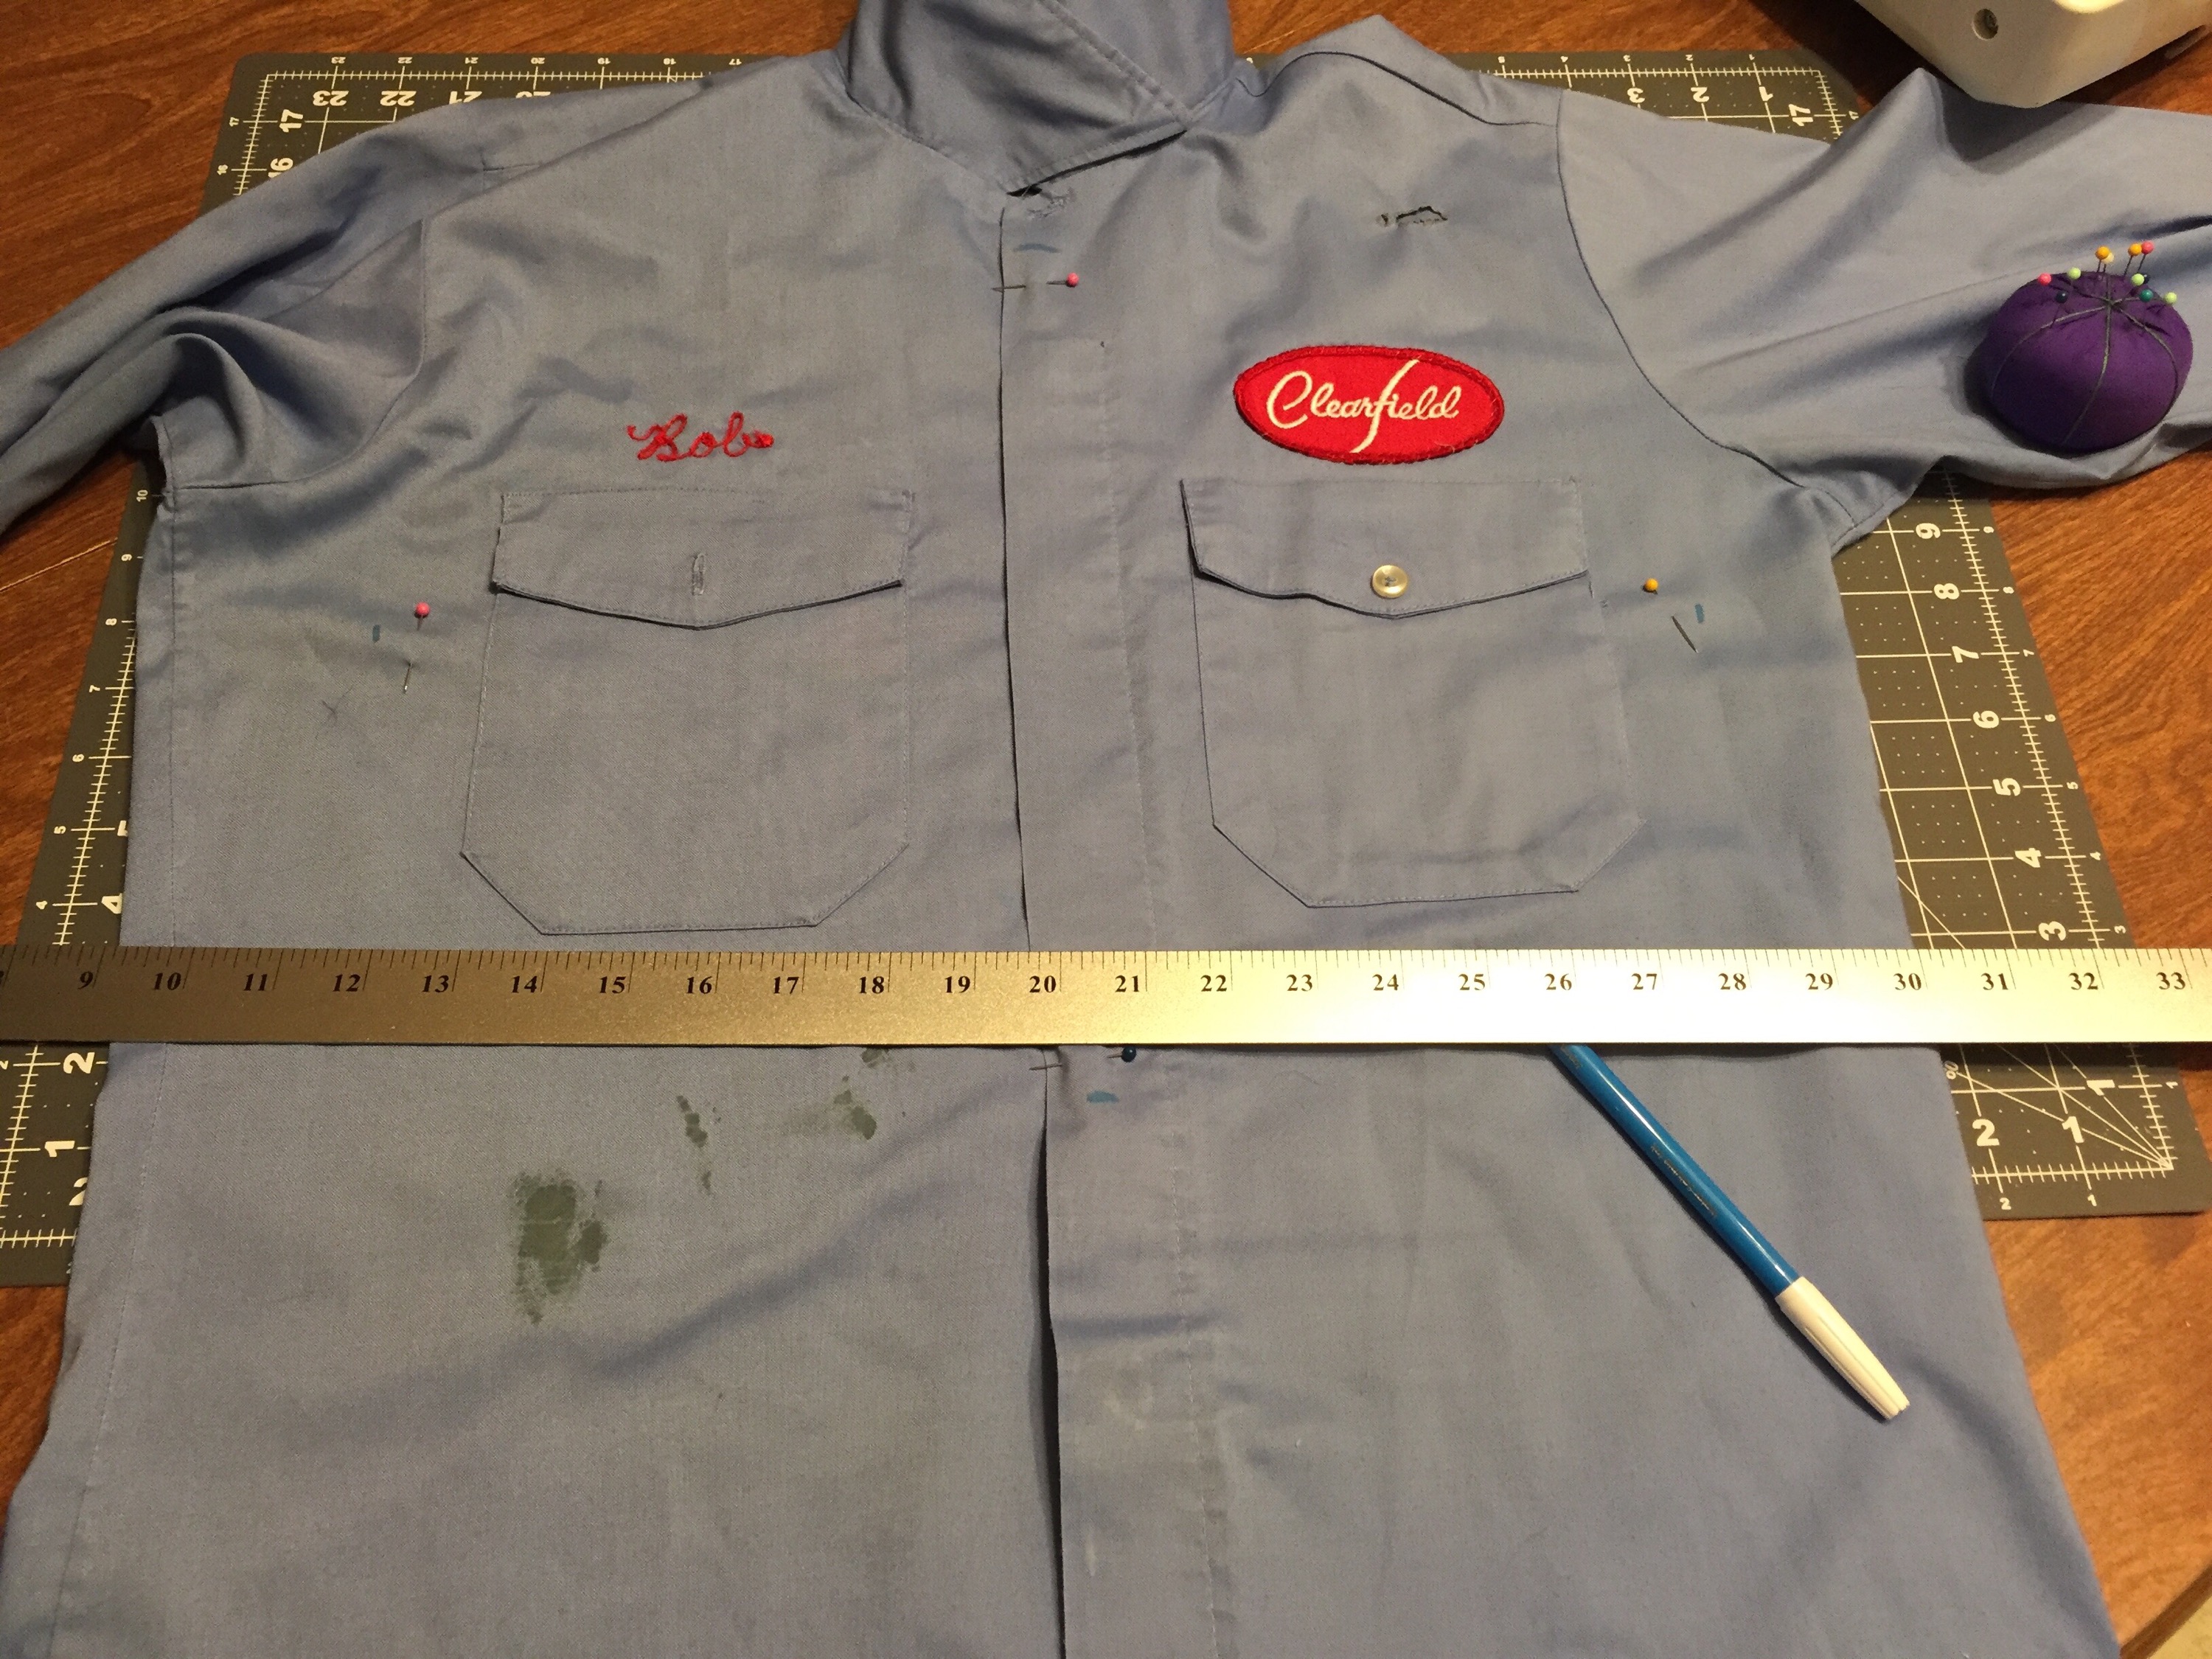
To start I laid out the shirt nice and flat on my table and pinned the middle. Then I measured 13″ top to bottom and 17″ across, getting it as centered as I could.

Measuring out the cuts
I marked it and drew lines with a disappearing fabric pen and got to cutting. Believe me that the first cut was the hardest on my Grandpas shirts!

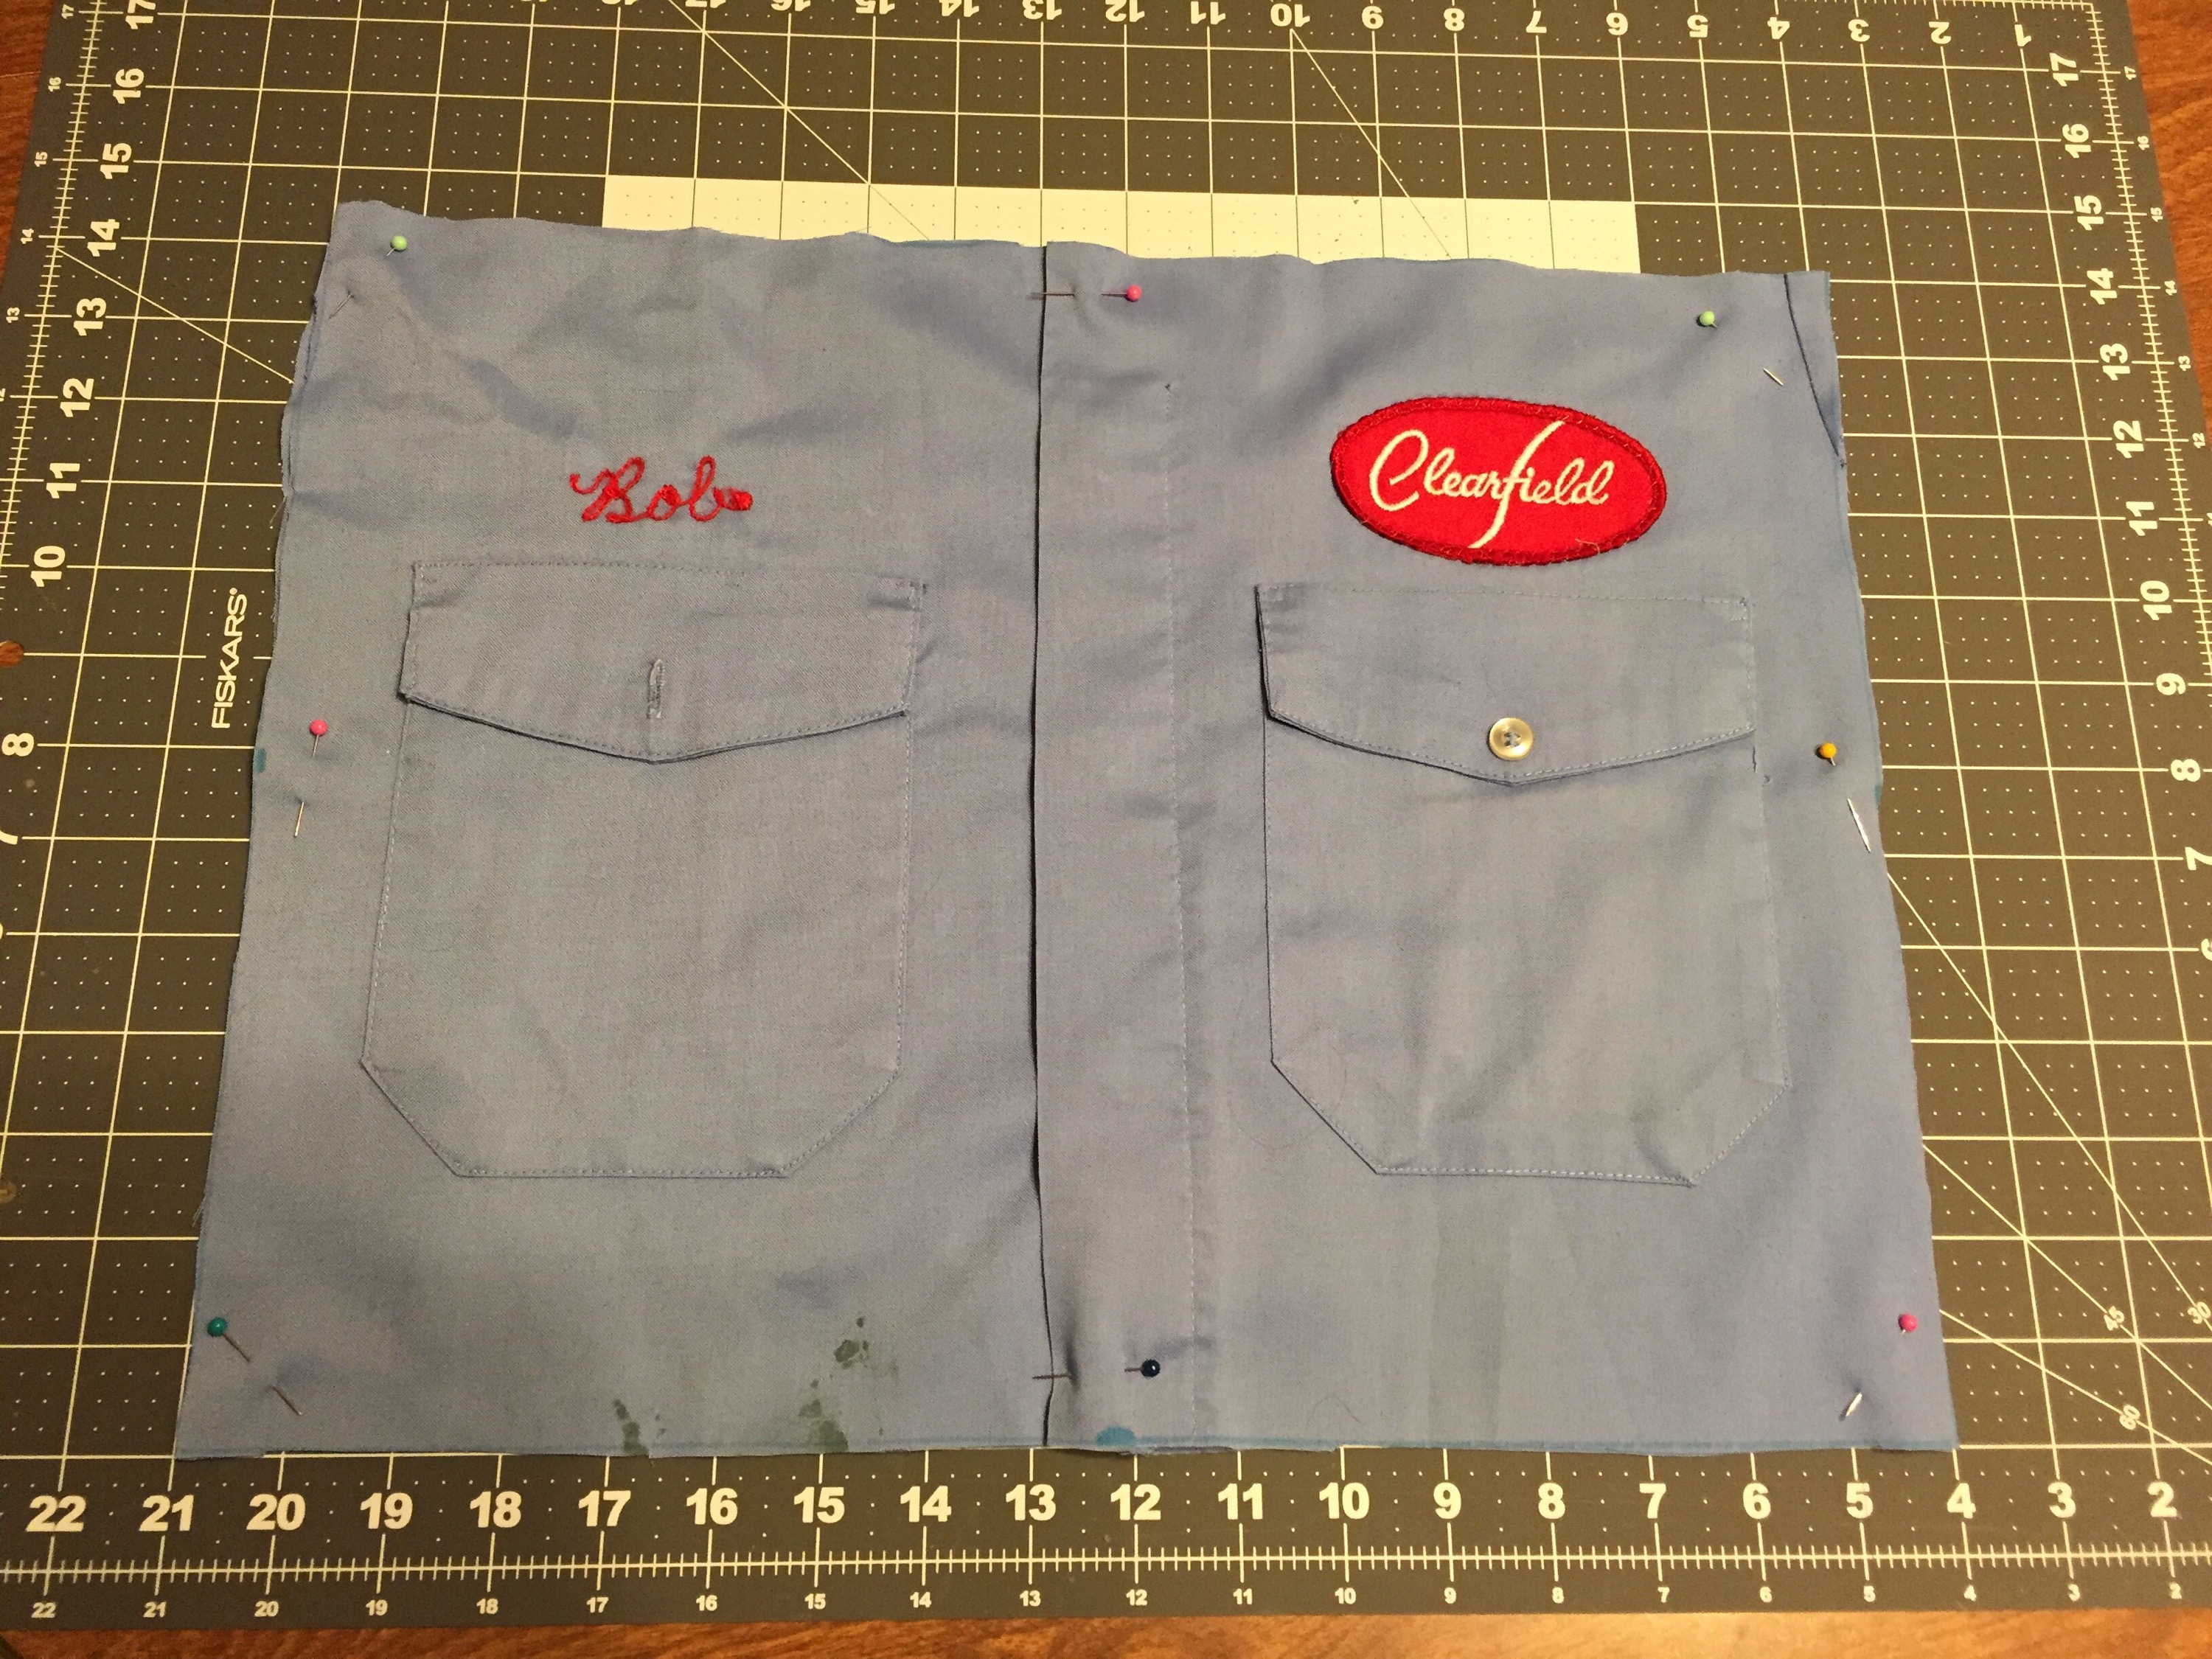
All cut and ready to turn inside out and sew!
After it was all cut out, I turned it inside out (no picture of that) and re-pinned it. Then I sewed around all 4 edges (since they are button up shirts, no need to hand sew!), about 1/2 inch in. Once that is done you unbutton them, turn them inside out, stuff with the pillow and button back up! They were super easy and once I got to working on them each one only took me about 15 minutes.

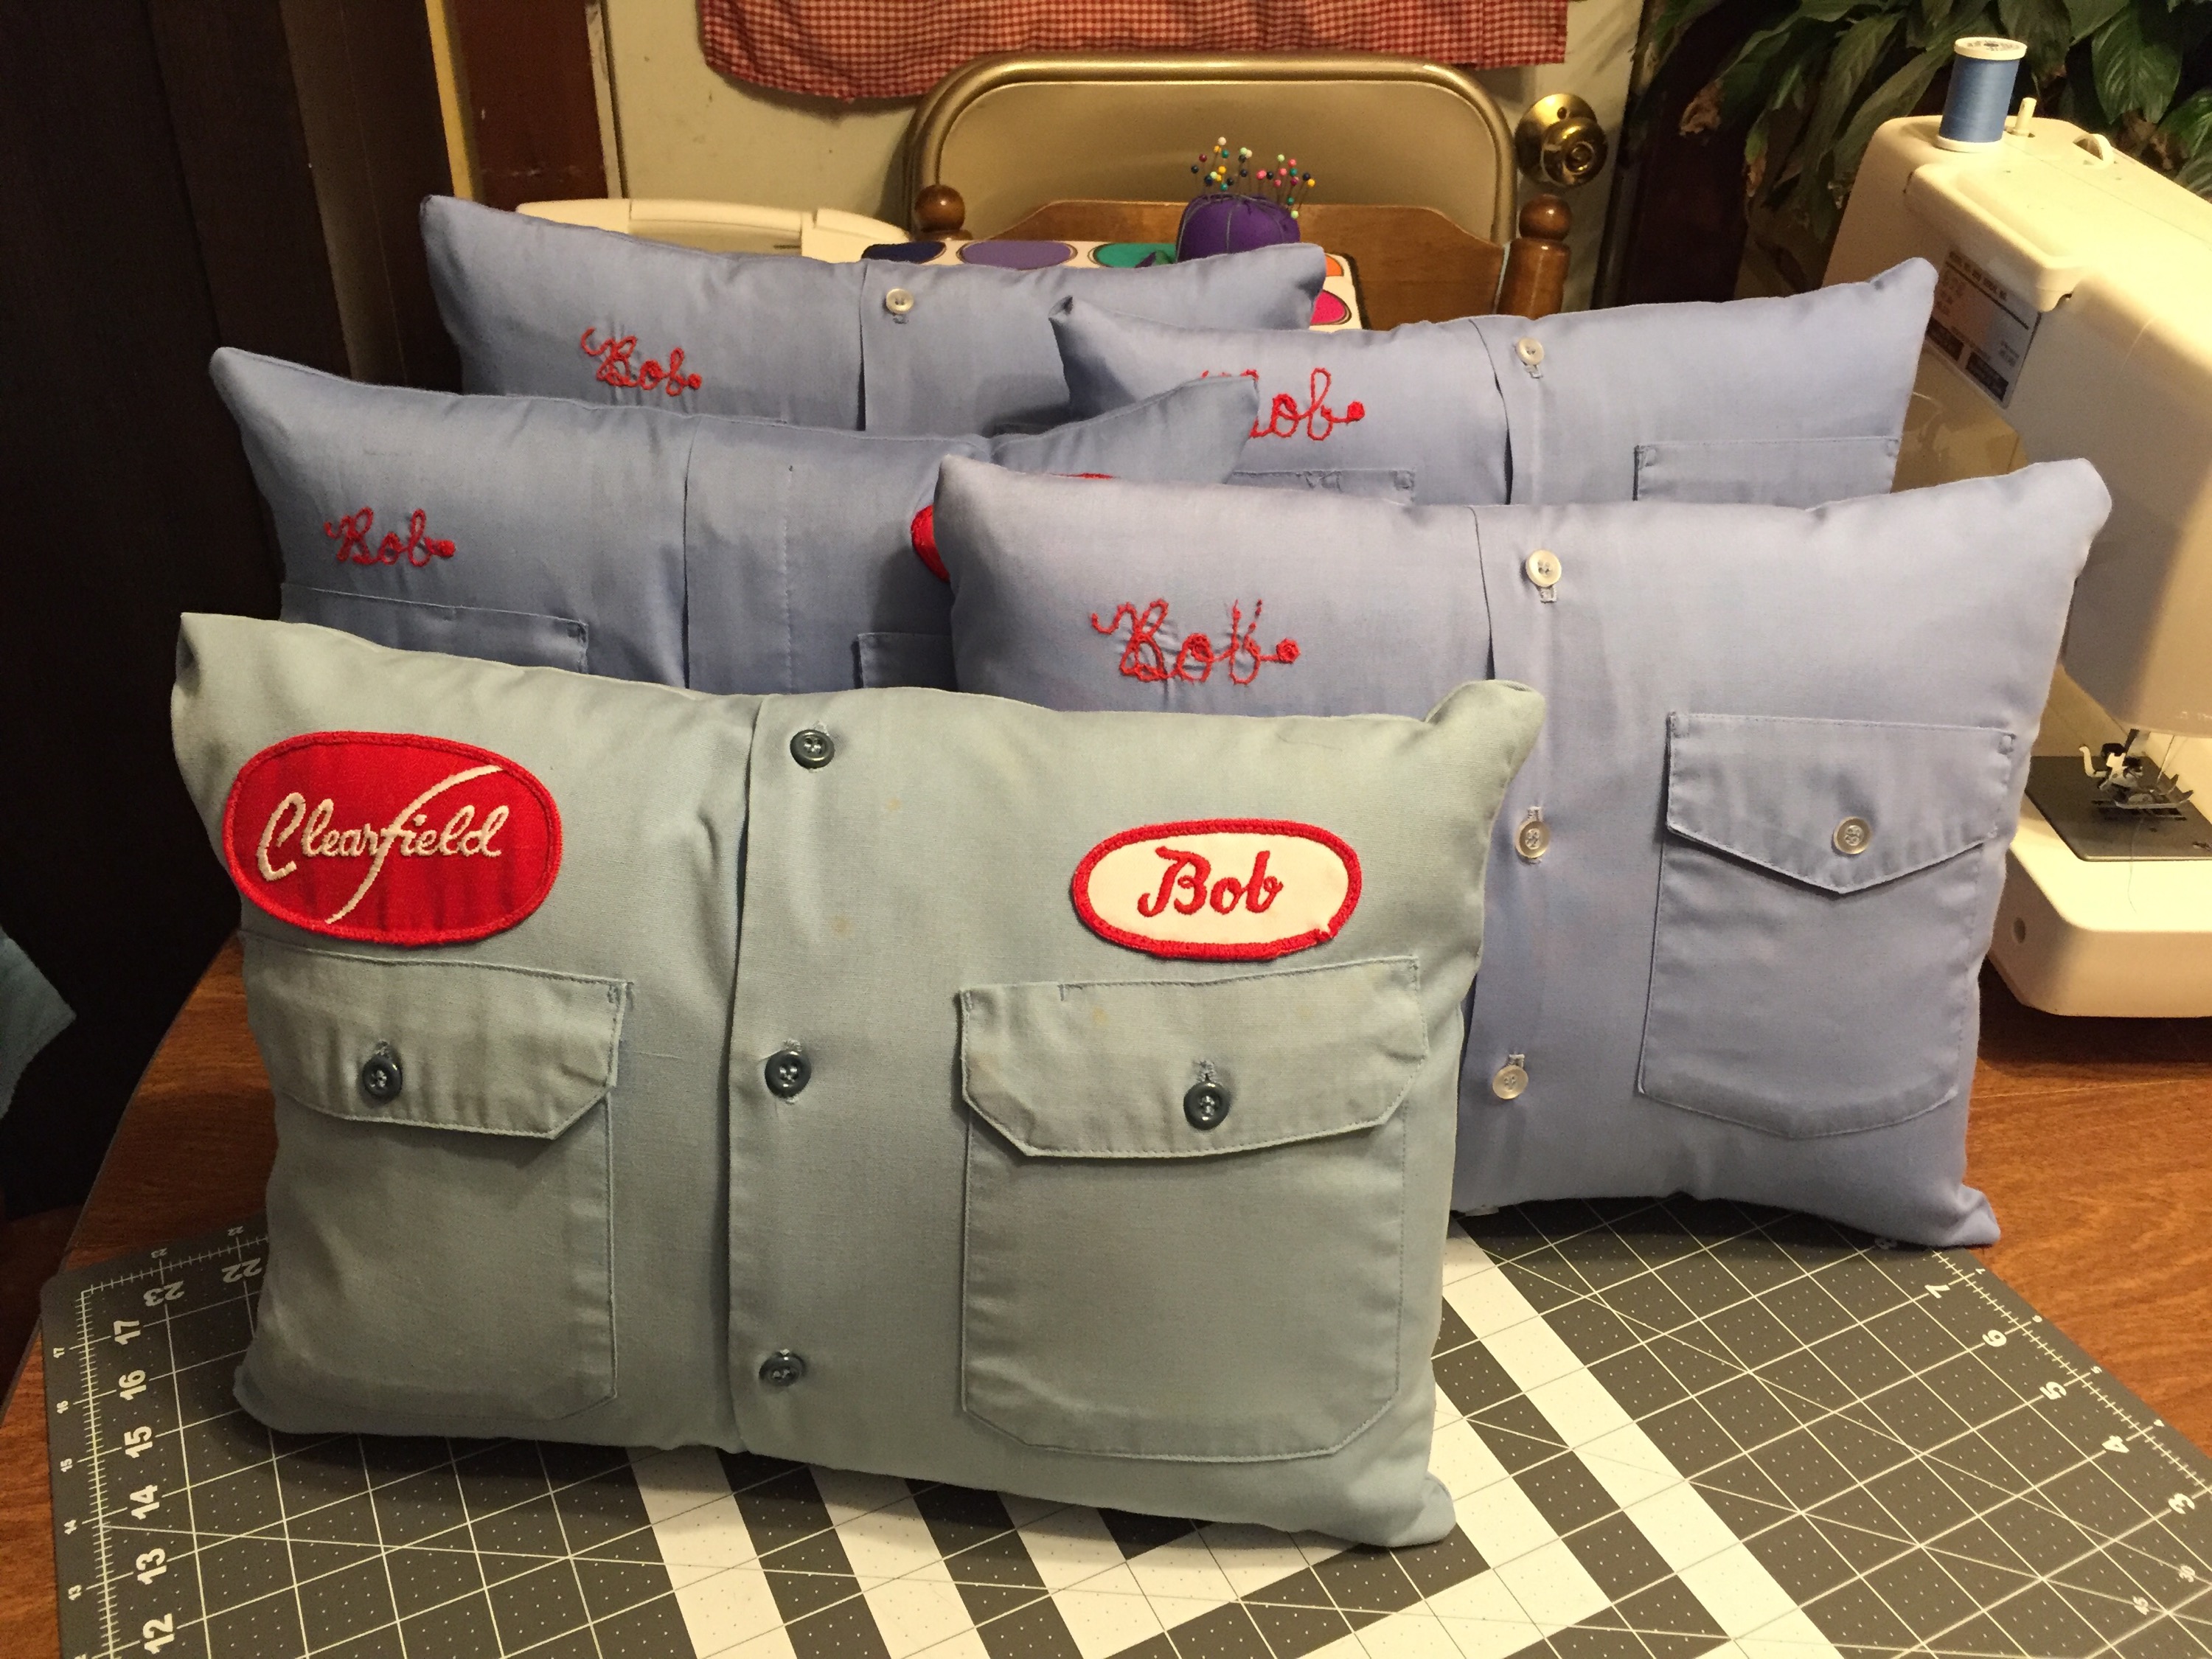
Finished shirt pillows
I made 5 total, one for my Grandma, Dad and 3 uncles. I have another shirt left and will make myself one too. I love the way they turned out. I was going to give them as Christmas presents to the recipients but couldn’t bear sitting on them that long!